

As stated before, there are three directives when machining aluminum.
- Chip Evacuation
- Lubrication
- Cooling
A chip blower will help with two of these, chip evacuation and cooling.
My Blower
Lets start with what I used to make my chip blower.
I started with a mister system that I purchased from Amazon for about $10.
Not a good Mister
While this unit makes a great blower, it is a horrible mister and here is why.
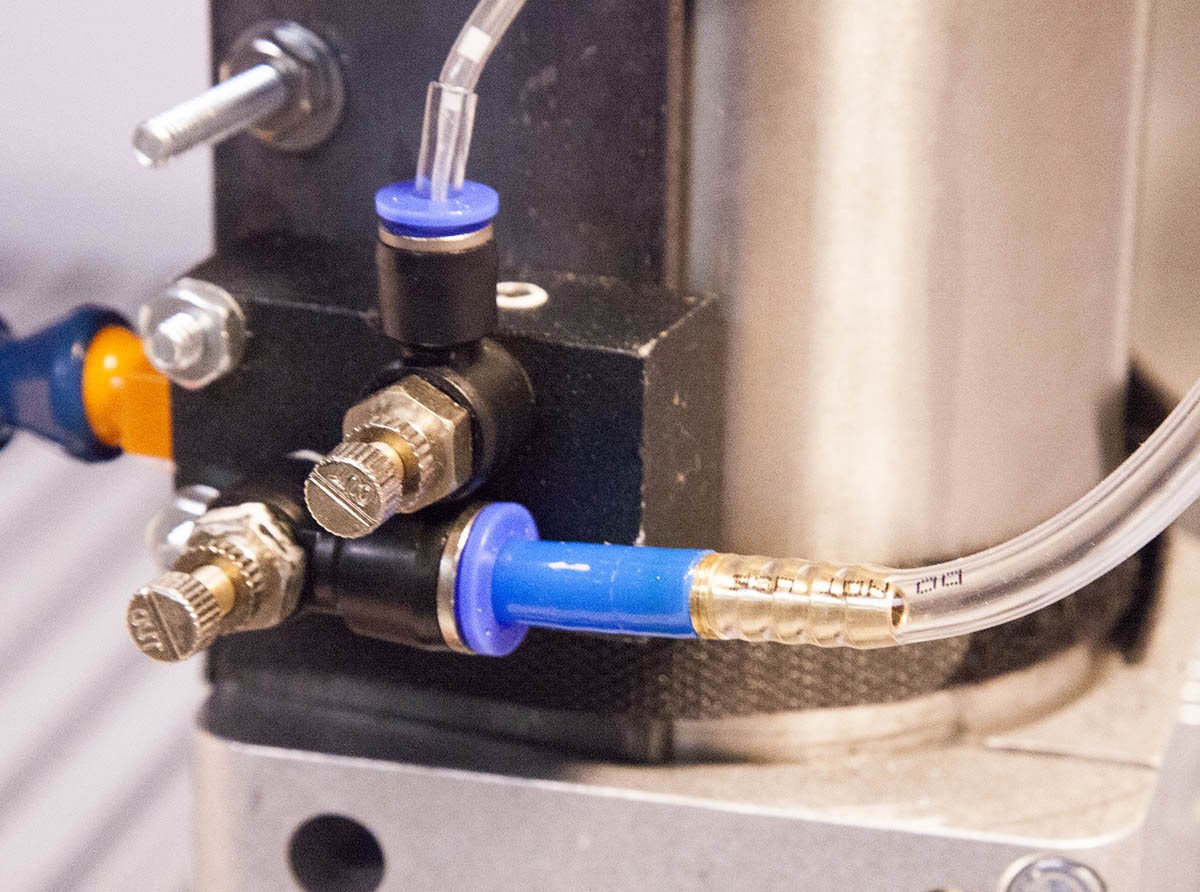
The unit uses an atomizer much like that of a perfume bottle.
The coolant intake is a tube that enters the block as shown here:
The tube continues through the block and up through the blower nozzle where it exits with a small nipple.
A section of the brass nozzle screws onto both the blower end and the nipple.
This makes it nearly impossible to adjust.
When it is adjusted it takes a great deal of air to pull the coolant and thus a foggy plum as the coolant is atomized.
This fog will quickly fill your shop with some very nasty fog.
Makes a Great Blower
While it make not make a good blower, it does work very well as a blower with a little modification.
I start by cutting the tubing sticking out of the nozzle end.
I then loosen the tubing retainer and pull the tubing completely out of the block.
I cut a small piece of craft foam to plug the hole, then screw the nut back in place.
I remove the valve and 8mm push-in connector and add my own 1/4" push-in connector.
This will allow me to use some readily available 1/4" tubing to connect to my air system.
Solenoid
I start with a very inexpensive solenoid valve shown here. The cost was about #10.
They also sell a 12v version, but the 110V unit works well with my existing system.
I wire a plug to the two leads on the solenoid and secure with some twist caps.
I have a 110v power cord on my VFD that is switch on when the spindle is turning and off when it is not. I use this to control my vacuum when milling.
I can simply plug the solenoid into this cord.
On the intake I added a small air valve and quick connector for my air system.
Note that you can use the control valve you removed earlyer. I used this one as I had it lying arround.
On the exhaust of the solenoid, I added another push to connect fitting.
Mounting
One of my priorities when designing my mount, was quick removal and storage. Here is my current system.
I started with a 6" long piece of 1/8" 2" x 2" angle. It could be as small as 3" or 4". This is what I had lying around.
I drilled two hole near the center that matched up with the mounting holes on the blower.
Tip: Use the blower mounting block as a guide to marking the holes.
The mount is attached to the angle as shown here.
Since the two screws are near the corner of the angle, they wont hit the spindle when the system is mounted on the spindle.
I use velcroe straps to hold the mount against the spindle. This allows me to swiing the whole mount as needed.
Just Hanging Out
I am going to be adding to this system in the very near future (probably next project), so I don't want to mount the solenoid just yet.
It is just resting on a small shelf clamped to my CNC.
My shop air is connected to the intake valve on the left, and my airflow is adjusted.
1/4" tubing is connected to the solenoid output and to the input of the blower.
Now, when the spindle is on, the blower is a blowen.
Blower in Action
Update
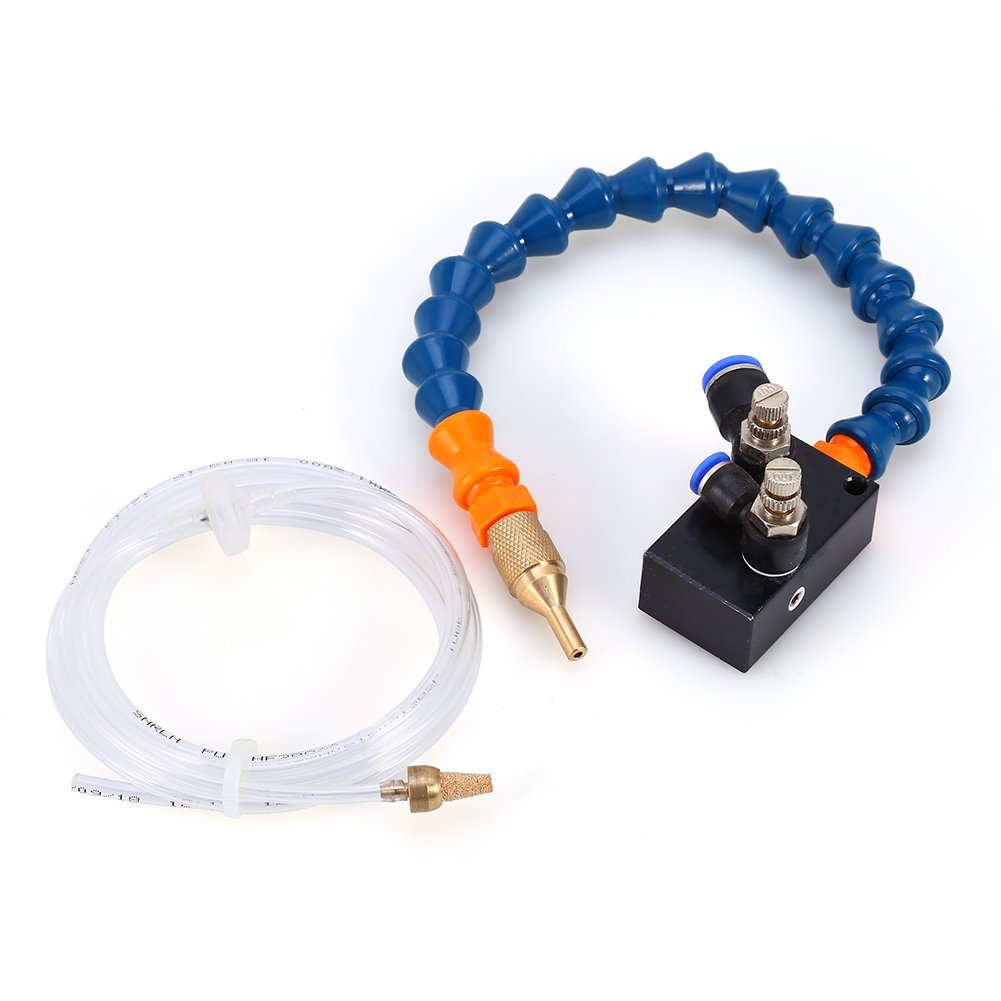
If you plan on taking your chip removal system to the next level, I no longer recommend the mister shown above.
Instead, the one shown here has control for both the air, and coolant.
You can find my MQL research here: